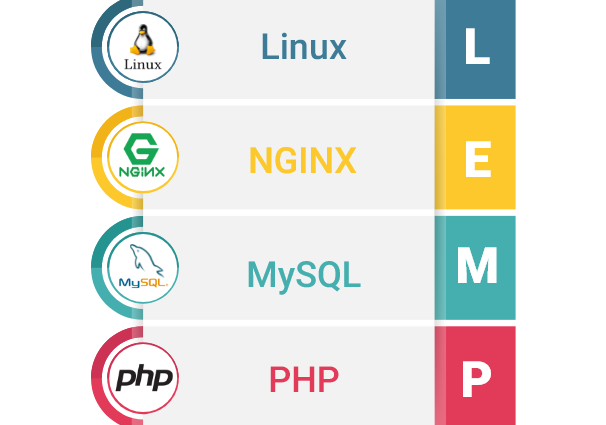
This comprehensive Linux guide expects that you run the following commands as root user but if you decide to run the commands as a different user then ensure that the user has
sudoaccess and that you precede each of the privileged commands withsudo
The Apache web server is currently the most popular web server in the world, which makes it a great choice for hosting a website. A FAMP stack, which is similar to a LAMP stack on Linux, is a group of open source software that is typically installed together to enable a FreeBSD server to host dynamic websites and web apps. FAMP is an acronym that stands for FreeBSD, Apache, MySQL, and PHP.
Installing Apache
You an easily install Apache from FreeBSD package manager.
A package manager allows us to install most of the software easily from a repository maintained by FreeBSD.
To install Apache us the following command
pkg install apache24Press y when the confirmation prompt appears
To enable Apache as a service use the following command
sysrc apache24_enable=yesStarting Apache
Start the Apache service using
service apache24 startTo check that Apache service is running, use
service apache24 status
apache24 is running as pid 20815.
Verification
You can also verify by using the following command in a web browser which will open default FreeBSD Apache web page, which is there for testing purposes. You’ll see: It Works!, which indicates that your web server is correctly installed.
http://your_server_IP_address/Finding Your Server’s Public IP Address
The universal way to find the ip address is to use ifconfig command as following
ifconfig vtnet0 | grep "inet " | awk '{ print $2; exit }'Another command like curl can also be used, it would contact an outside party, like icanhazip, to tell you how it sees your server. This is done by asking a specific server what your IP address is:
curl http://icanhazip.comInstall MySQL
The MySQL server is used to organize and provide access to databases where our server can store information. To install mySQL use the following command
pkg install mysql80-serverPress y when the confirmation prompt appears
Enabling MySQL As A service
Use the following command to add mysql_enable="YES" to the /etc/rc.conf file.
sysrc mysql_enable=yesStarting MySQL Server
To start the MySQL server use the following command
service mysql-server startNow the MySQL is running so you will simply have to run the security script as following
mysql_secure_installationA prompt will appear asking for root password so you will keep it blank by pressing Return. After that a a prompt will appear asking you to set a root password
Enter current password for root (enter for none): [RETURN]
OK, successfully used password, moving on...

Setting the root password ensures that nobody can log into the MySQL
root user without the proper authorization.

Set root password? [Y/n] Y
New password: yuranypassword1234
Re-enter new password: yuranypassword1234
Password updated successfully!
For rest of the questions press the Return key to set values as default values
At this point your database system is setup and you can move on to install PHP.
Installing PHP
This is the component that will process code and display dynamic content.
It can run scripts, connect to MySQL databases to get information, and hand the processed content over to the web server to display. To install it use the following command
pkg install php73 php73-mysqli mod_php73Press the key y at the confirmation prompt
Now copy the sample PHP configuration file into place with this command:
cp /usr/local/etc/php.ini-production /usr/local/etc/php.iniRegenerating The System Cache Information
rehashBefore using PHP, you must configure it to work with Apache
Install PHP Modules
To enhance the functionality you will install the PHP module for this use the following command
pkg search php73
php73-7.3.5                    PHP Scripting Language
php73-aphpbreakdown-2.2.2      Code-Analyzer for PHP for Compatibility Check-UP
php73-aphpunit-1.8             Testing framework for unit tests
php73-bcmath-7.3.5             The bcmath shared extension for php
php73-brotli-0.6.2             Brotli extension for PHP
php73-bsdconv-11.5.0           PHP wrapper for bsdconv
php73-bz2-7.3.5                The bz2 shared extension for php
php73-calendar-7.3.5           The calendar shared extension for php
php73-composer-1.8.4           Dependency Manager for PHP
php73-ctype-7.3.5              The ctype shared extension for php
php73-curl-7.3.5               The curl shared extension for php
php73-dba-7.3.5                The dba shared extension for php
php73-deployer-6.4.3           Deployment tool for PHP
php73-dom-7.3.5                The dom shared extension for php
…
You can get description of the package by typing following command
pkg search -f package_nameAlong with the information you will get something like this
php56-calendar-5.6.3
Name           : php56-calendar
Version        : 5.6.3
...
Comment        : The calendar shared extension for php
...
If you decide that you would like to install a package, you can do so by using the pkg install command. For example if I want to install calender, i would use:
pkg install php73-calendarConfigure Apache To Use PHP Module
Open the Apache configuration file by using text editor such as:
nano /usr/local/etc/apache24/Includes/php.confNow you will have to add following lines
- /usr/local/etc/apache24/Includes/php.conf
-
        SetHandler application/x-httpd-php


        SetHandler application/x-httpd-php-source
Now restart Apache by using following command
sudo service apache24 restartCheck that Apache service is running in good condition use the following command:
apachectl configtest
Performing sanity check on apache24 configuration:
Syntax OK


