SSH (Secure SHELL) is one of the most used network protocol to connect and login to remote Linux servers, due to its increased security provided by its cryptographic secure channel established for data flow over insecure networks and its Public Key Authentication.
You need the following software to complete this task:
- PuTTY: A client for managing SSH sessions
- PuTTYgen: A tool for managing and creating SSH key pairs
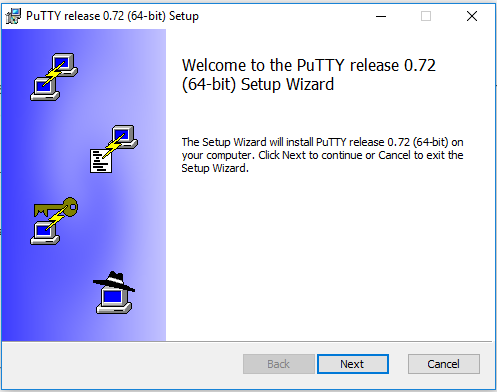
Download & Install PuTTY
Click Here to download PuTTy and then install it on your windows.
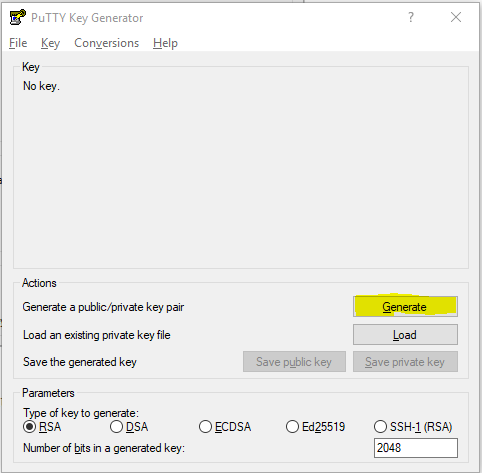
Open PuTTYgen
Now, search for Puttygen in your start and open it.

Generate Public/Private Key
Now Click Generate button to generate a public/private key pair for your system.
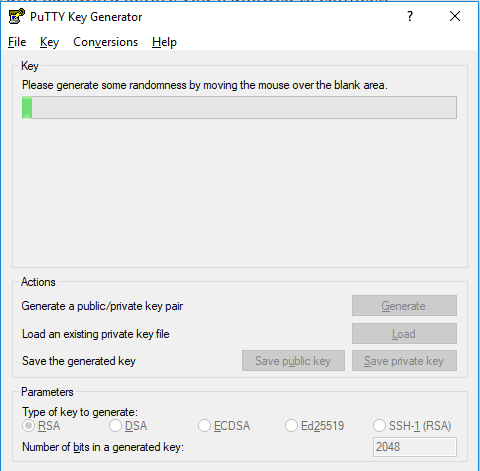
Now move your mouse around the box to help generate the keys.
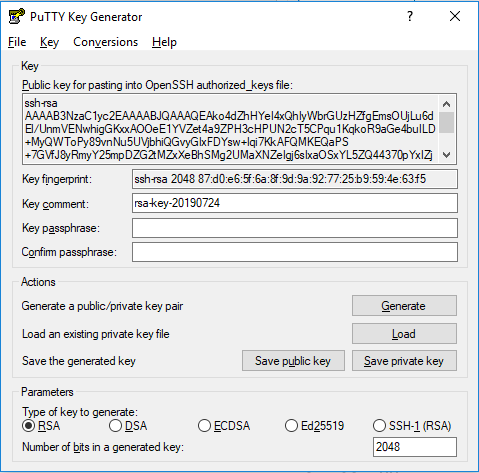
Save Public And Private Keys
On the bottom right, there are buttons named Save public key and Save private key – save both to your computer. When you save the public key, name it something like “codespostspublickey”. Do not manually add the extension as that isn’t necessary.
Upload Keys To SSH Server
After this, copy the pubic key and connect to your SSH server manually.
Then upload your public key pair to your remote server by following the steps below:
root@codesposts:~$ mkdir .ssh
root@codesposts:~$ nano ~/.ssh/authorized_keys
Then paste the copied key and save the file.
After saving the file, run the commands below to protect the file.
root@codesposts:~$ chmod go-rwx ~/.ssh ~/.ssh/authorized_keysNow that the public key is added to the server, you can now configure PuTTY to always logon without passwords.
Setup Passwordless Login
Open PuTTY again and under Connection, select Data and type the account name to use to always logon.

Next, under SSH, select Auth then browse and find the private key and select it.

Finally, go back to the session and type the sever IP, session name, then click Save.

This will save the session for later you. If everything is select correctly, you should be able to sign on to the SSH server without passwords.